Showing posts with label composting. Show all posts

Friday, April 19, 2013

Top-dressing the lawn


It’s only been 2 ½ months since we top-dressed our front lawn with compost but we are already seeing good results! So I thought I’d go into a little more detail. Top-dressing is an old concept that had fallen by the wayside when the need for instant gratification and convenience triumphed over the old art of manually spreading compost on the lawn. However with new attention to organic lawn care and a desire to reduce the use of chemicals top-dressings is coming back into favor with homeowners.


Topdressing a lawn is the process of adding a thin layer of organic material over the lawn. Typically 1/4 inch - 1/2 inch of compost is spread across the lawn with shovels, in a throwing action. The material can be worked into the thatch area by raking, washed in with rain or sprinklers, or allowed to settle on its own. It is labor intensive and may be a reason for its lack of popularity. Lawn care companies sometimes offer a topdressing service but it is often viewed as an inconvenience because of the materials and labor involved. But as organic lawn care gains popularity, topdressing the lawn on a regular basis may become more popular and more services may offer the service.


Topdressing's benefits are numerous and it's hard to understand why it is not the basis for every lawn care program.
• topdressing can improve soil biology by adding organic matter and the beneficial microorganisms of compost. Soil structure and drainage can be modified by topdressing.
• Topdressing reduces lawn stresses, helps keep thatch under control and acts as a long term natural fertilizer. Adding organic matter to a lawn by topdressing with compost is the most beneficial cultural practice lawn care has to offer.
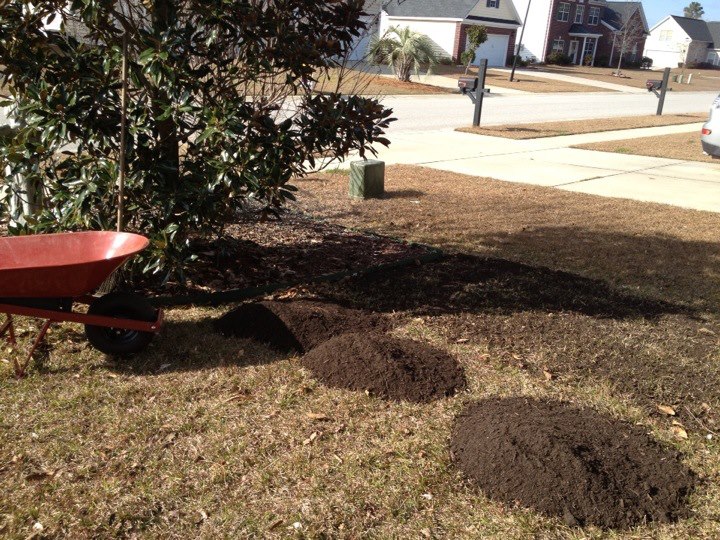

Topdressing materials vary greatly and are usually dictated by budget and need. Most topdressing is performed with compost, which can vary in quality and get expensive. Compost should be made from the appropriate ratios or wet and dry materials and should be fully "cooked". High quality finished compost should be dark and rich and made with a variety of organic material with few fillers like sawdust or loam.


When topdressing, it is beneficial to do it in combination with other cultural practices like aerating, de-thatching and over seeding. Topdressing after aerating and over seeding (as needed) is the ideal trio of lawn care chores that will result in a healthier lawn. The aerating opens up the soil, allowing for better air and water movement and reduced compaction. The aeration holes provide the perfect seed bed for over seeding, allowing newer generations of grass to establish and thrive. Lastly, topdressing with compost, helps fill in the holes, covering the seed and allowing for ideal germination conditions with a burst of nutrients as the seedlings establish. It's a win, win, win, situation.


I haven’t reseeded my front lawn. Once this application of compost has fully worked the yard is and actively growing I am planning to aerate, then plan to topdress again.

Friday, April 12, 2013

Spring Gardening


It has been a busy spring for me at work and my gardening is way behind of my schedule and because of the odd see-saw weather. Warm then near freezing weather really confused the plants and made it hard to plant my greenhouse plants.


Finally my days off matched up with some nice weather and I was able to put together 2 days of yard work and make some progress in the garden! The late start means I will not have much of a vegetable garden but was able to plant some tomatoes,peppers, squash and herbs. I also have some strawberries plants from last year that I transplanted earlier.


My main concern was getting plants out of the greenhouse where some plants were baking.burning int 100+ degree temperatures in the afternoons.Even with a shade cloth I can't keep the temperatures at an acceptable level.


Most plants are out of the greenhouse now, just a few remain and I plan to move them out as soon as possible.


My front yard has really responded to the compost we put down in the fall! I think my neighbors will be jealous. We have few weeds and the grass is coming up green!


Tuesday, January 29, 2013

My Lawn Isn't Thriving


The first few year we lived in our Charleston, SC house both my backyard and front yard both did pretty well. Since Centipede grass doesn't like to be fussed over I just check the PH every couple of years and applied 15-0-15 lightly as suggested by my soil report from Clemson Extension. Then about 3 years ago the front yard began to thin and just didn't recover from winter as quickly as before.


I know from planting trees when we first moved into our home that the front yard was mostly clay. I've amended my flowerbeds over the years and the plant there do rather well. I wondered what I could do without digging up the lawn and starting over. I asked several Master Gardeners and Extension Agents for some ideas and came up with a plan.


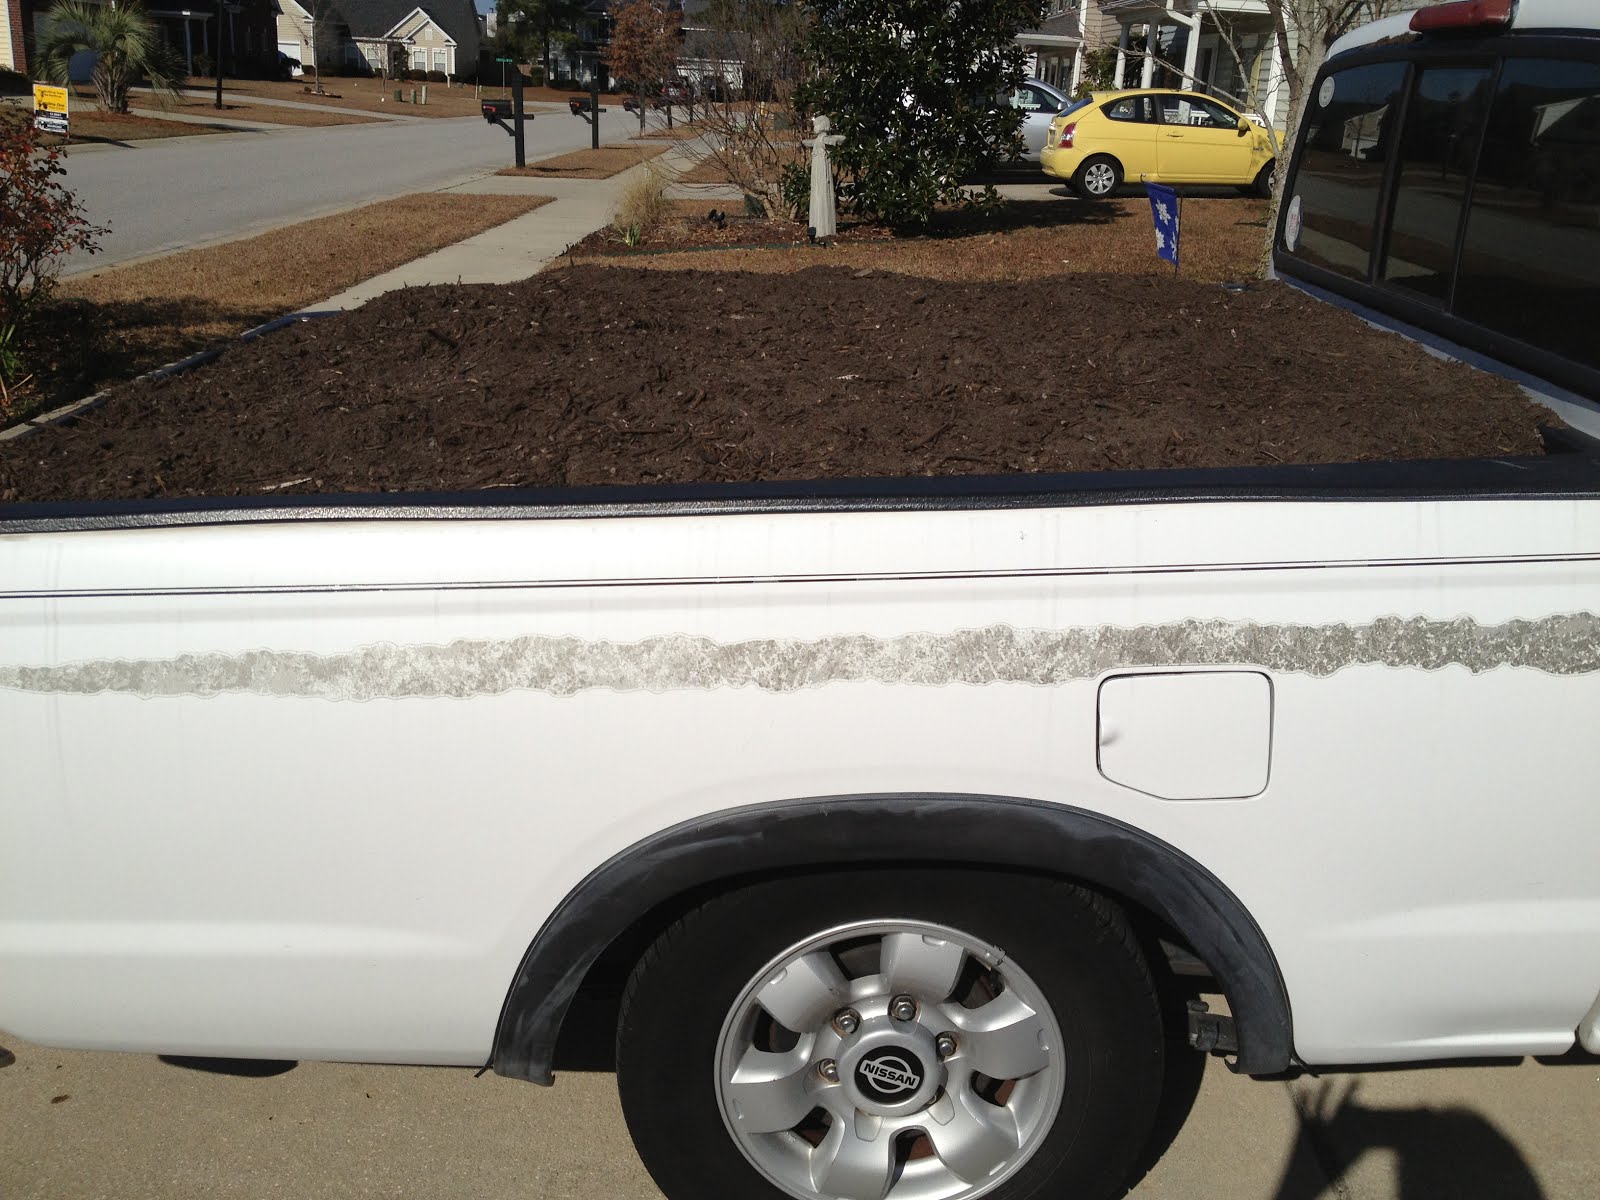
While my warm-season lawn was dormant I spread a light layer of compost over the yard. This was purchased at a local landfill that also runs a compost facility for $10 a ton. Our truck couldn't quite hold a full ton so it cost us only $7 and we were able to coat the front lawn with a little leftover for my other garden projects.


I've been watering the compost it in on warm days this winter and hope to see my yard respond with healthier turf. When the grass is fully out of dormancy which is usually around the end of May we plan to aerate the lawn and add more compost. It may take a little time but I'm assured that this will help my Centipede lawn. Check back with me in a few months for an update and we'll see how it works out!


This should work for other types of grass as well. Just remember not to bury your turf too deep in the compost. A thin layer will work best.

Monday, February 27, 2012

Composting Styles

Do you have a composting style? I know I’ve written about composting before but there is a reason I’m writing about it again. There is a reason gardener’s call compost “black
gold”. This broken-down organic material can improve any type of soil. You
can add it so sandy soil to add nutrients and moisture-holding capacity
and is capable of loosing clay soil allowing it to drain better. Plants
just grow better when compost is added to any soil.

Even knowing this many of you don’t compost thinking it is too
complicated; too easy to do something wrong messing up the process. But
any one can compost and it can be a really easy process. My first attempt was just a pile of leaves and grass clipping and occasionally I added egg shells, tea leaves and coffee
grounds. Or make it a little more complicated by using a three-bin system that produces compost faster but takes more time and effort. Either way you end up with compost. Let’s go over some of the time and equipment involved in composting and see what style
might suit you.

Easy- a simple compost pile works great if you have the space and the
time. It’s a great way to deal with fall leaves--just mower the leaves to
chop them up is you want them to compost faster. This is an example of
cool composting. * More about this later.
Fenced- Sometimes a little containment is in order especially if you
have a lot of leaves that might be subject to blowing around. There is no
right or wrong way to build your bin. Look for some thing you can use
around your garage or shed. Try making a round container with fence posts
and hardware cloth. Other ideas are an old barrel with holes drilled in
the bottom or pieces of picket fence or old pallets fastened into a box. A
pile can be turned for hot composting but will also work for cool
composting.
“Feeding” the Pile- Food scrapes make good compost. I collect
vegetables, fruit, coffee grounds, tea leaves and egg shells but never use
meat, fats or oil. To prevent odor it is important to bury the scrapes (or
locate your bin where odor won’t bother you). A lid will keep rodents and
other pests away. Leave alone cool composting or turn for hot composting.
Ready-made Tumbler-ready-made compost tumblers are enclosed so it is
safe to use food scrapes. Their design allows for easy turning either by
using a stand or they are shaped so you can roll them around the yard to
turn the compost. These are best used for hot compost as they are usually
are rather compact and don’t hold a lot of material. The designs make them
easy to turn speeding up the compost process producing finished compost in
weeks instead of months.
Three Turns to the Right- To make a lot of compost quickly try using the
3-bin style. You can purchase this style ready-made or build one out of
slats or pallets. The bins should be able to hold 1-cubic yard (3 X 3 X 1
feet) –this seems to be the magic number for efficient composting. Fill
the first bin with layers of green and brown materials. When the volume
has reduced by half, turn it in to the second bin and refilling the first
bin. When the volume of the second bin is also reduced to half turn it
into the 3rd bin. In a few months you will have a small pile of finished
compost in the 3rd bin, and this will allow you to keep up a continuous
process of composting. Finished compost in the 3rd bin should be rich,
dark and crumbly and should have a pleasant earthy smell instead of a
strong odor.

So now that you have an idea of the different ways of composting…have you
found your compost style? Maybe a combined style is for you with a simple
pile hidden in the back of the yard and a ready-made compost tumbler for
your kitchen garden. If you make a lot of compost or just a little to top
dress a planting bed or two each spring, your plants will be happy and a
happy plant it a good plant.
*Cool or Hot Compost?


Cool composting
• Add grass or leaves as you go
• No turning needed
• Brown to green ratio doesn’t matter
• Finished in 6-months or 2-years

Hot Composting
• Build all at once with 3-parts brown to 1-part green
• Turn it often and keep it moist
• Kills most weed seeds and pathogens
• Finished in 2 to 6 months

Brown Materials
• Straw
• Dead leaves
• Cardboard/paper
• Pine needles
• Sawdust

Green Materials
• Grass clippings
• Fruit of vegetable scraps
• Coffee grounds
• Egg Shells
• Fresh manure (not from pets or humans)
• Healthy green plant material